Thursday, January 28, 2016

Embedded Dev - Long builds with Platform Verification Task

If you are experiencing an extremely long build time on a windows mobile C# project with Visual Studio 2008, you can try to disable Platform Verification Task.
Platform Verification Task (PVT) is a post-build validation step to catch the unsupported PMEs before they can result in a runtime exception.
Go to file: C:\Windows\Microsoft.NET\Framework\v3.5\Microsoft.CompactFramework.Common.targets

Search the following element:
<Target
        Name="PlatformVerificationTask">
        <PlatformVerificationTask
            PlatformFamilyName="$(PlatformFamilyName)"
            PlatformID="$(PlatformID)"
            SourceAssembly="@(IntermediateAssembly)"
            ReferencePath="@(ReferencePath)"
            TreatWarningsAsErrors="$(TreatWarningsAsErrors)"
            PlatformVersion="$(TargetFrameworkVersion)"/>
</Target>

and add the bold line:

<Target
        Name="PlatformVerificationTask">
        <PlatformVerificationTask
   Condition="'$(DoPlatformVerificationTask)'=='true'"
           PlatformFamilyName="$(PlatformFamilyName)"
           PlatformID="$(PlatformID)"
           SourceAssembly="@(IntermediateAssembly)"
           ReferencePath="@(ReferencePath)"
           TreatWarningsAsErrors="$(TreatWarningsAsErrors)"
           PlatformVersion="$(TargetFrameworkVersion)"/>
</Target>
Finally restart Visual Studio, rebuild your project and the problem should be  fixed.

Thursday, May 14, 2015

Internet of Things (IoT) @ TTG

When: May, 14 at 6 PM
Where: Corso Castelfidardo 30 Torino - Sala Microsoft Innovation Center


Spark.io Overview, IoT arduino-like device, easy and cheap
Marco Bodoira and Roberto Nocera will make a spark products overview, showing examples and reporting amazing experience at FabLab laboratory.

Internet Of Things: a real example
Beppe Platania and Gianni Rosa Gallina will describe their app applied to construction equipment, using .Net Microframework and Microsoft Azure Cloud.

Register here for free
http://www.torinotechnologiesgroup.it/eventi/15-05-05/Incontro_community_14_maggio_2015.aspx

Sunday, February 1, 2015

Spark Night Lab @ FabLab Torino


the event registration page on eventbrite is: https://www.eventbrite.it/e/biglietti-spark-night-lab-15495257733
landing page of the event with all details : http://sparknightlab.eventify.it/
the page of the event on fablab site is : http://fablabtorino.org/eventi/


Wednesday, December 3, 2014

Remote Spark for Windows Phone

Remote Spark for Windows Phone is a project that I started to enable remote control on Spark device already described on my last post.
This app, with source code published on codeplex,  allows you to turn on/off two leds and get temperature from your spark device.


How to use it
1. build following simple circuit, using spark maker kit. This circuit is the merge of blink an led, control leds over the net and measuring temperature examples:


2. Flash on your Spark device the following firmware, from https://www.spark.io/build :

// Define the pins we're going to call pinMode on
int led1 = D0;  // You'll need to wire an LED to this one to see it blink.
int led2 = D1; // This one is the built-in tiny one to the right of the USB jack
int temperature = 0;
double voltage;
// This routine runs only once upon reset
void setup() 
{
  Spark.function("led", ledControl);
  Spark.variable("temperature", &temperature, INT);
  // Initialize D0 + D7 pin as output
  // It's important you do this here, inside the setup() function rather than outside it or in the loop function.
  pinMode(led1, OUTPUT);
  pinMode(led2, OUTPUT);
  digitalWrite(led1, LOW);
  digitalWrite(led2, LOW);
  // Connect the temperature sensor to A7 and configure it
  // to be an input
  pinMode(A7, INPUT);
}

void loop() 
{
  temperature = analogRead(A7);
  voltage = (temperature * 3.3)/4095;
  temperature = (voltage - 0.5) * 100;
}

int ledControl(String command)
{
    int state = 0;
    int pinNumber = (command.charAt(1) - '0') -1;
    if(pinNumber <0 || pinNumber >1)
      return pinNumber;
      
    if (command.substring(3,7) == "HIGH") 
      state = 1;
    else if(command.substring(3,6) == "LOW") 
      state = 0;
    else    
      return -1;
    digitalWrite(pinNumber, state);
    return 1;
}

3. Download my project from codeplex and set your DeviceId and Token in Spark.cs class.
4. Deploy the app on your phone

When you change toggle to turn on/off leds, RemoteSpark will send a POST request to spark cloud:

internal async static Task<LedResponse> Set(string p1, string p2)
        {
            LedResponse result = null;

            using (var request = new HttpClient())
            {
                string postData = string.Format("params={0},{1}", p1, p2);
                byte[] byteArray = Encoding.UTF8.GetBytes(postData);
                var stringContent = new StringContent(postData, Encoding.UTF8, "application/x-www-form-urlencoded");
                request.DefaultRequestHeaders.Authorization = new AuthenticationHeaderValue("Bearer", Token);
                var response = await request.PostAsync(string.Format("https://api.spark.io/v1/devices/{0}/led", DeviceId), stringContent);
                var json = await response.Content.ReadAsStringAsync();
                result = JsonConvert.DeserializeObject<LedResponse>(json);
                result.PlainJson = json;
                if (result.return_value == "1")
                    result.ok = true;
            }
            return result;
        }

Pressing Get temperature button, RemoteSpark will send following GET request:

 internal async static Task<TemperatureResponse> GetTemperature()
        {
            TemperatureResponse result = null;
            using (var request = new HttpClient())
            {
                request.DefaultRequestHeaders.Authorization = new AuthenticationHeaderValue("Bearer", Token);
                request.DefaultRequestHeaders.IfModifiedSince = DateTime.Now;
                var response = await request.GetAsync(string.Format("https://api.spark.io/v1/devices/{0}/temperature", DeviceId));
                var json = await response.Content.ReadAsStringAsync();
                result = JsonConvert.DeserializeObject<TemperatureResponse>(json);
            }
            return result;
        }
Feel free to download and modify it for your projects!

Tuesday, August 5, 2014

Spark.io and Internet of Things

I was looking for an embedded device little, cheap and with Wifi support when I found Spark.io.
Surfing inside its website, I decided to buy the dev kit, 99$ (the core is only 39$). I took the version with embedded antenna because I'm lazy.
The dev kit contains the Spark core and a lot of hardware devices:
Getting started without an Android phone or Iphone, I had to connect the core to the PC with putty, following instructions to set WiFi password and retrieve core Id.
Once connected to the network, I followed the tutorial to switch on and off two LEDs.
Before I realized the hardware circuit:
Then I switched to programming. The code is compatible with language used on Arduino and IDE is available from a web interface: you need to log in and the IDE shows the sample projects that you can edit and automatically save to your cloud space.
The amazing thing is how to flash firmware via OTA. From a web page you press a lightning button: the project is recompiled and the core receives the update via WiFi. When the operation is complete, the device will continue to operate with the new firmware. 

In the next post I will blink LEDs and will show temperature using a Windows Phone app.

Tuesday, May 6, 2014

//publish/ @ Torino

Overnight Event: May 16 - 17
I3P, Incubatore Imprese Innovative Politecnico di Torino
Via Pier Carlo Boggio, 59 Torino, IT, 10138 Italy

Bring your existing app and game projects to the hackathon Microsoft //Publish/ event, to code with developers from around the world. Collaborate and get help with app design, performance, testing, publishing, porting from Unity – you name it. The //publish/ event is devoted to getting your app up and running smoothly on Windows phones, tablets, and PCs.

Receive onsite support from Microsoft and community experts to remove blockers and add the finishing touches to your project. Join a testing group of your peers and try your app out on a range of devices. Connect online with developers and Microsoft product specialists from all over the globe in simultaneous worldwide events. Show off your completed project at the App Showcase.

The following prizes will be awarded to showcase winners and there are special incentives to submit your app for publishing while at the event. Don’t forget – apps published to the Windows or Windows Phone Store before June 1st, 2014 are eligible for even more great prizes through the //publish/ Developer Contest.

Agenda Day 1

10:00 AM – 11:-00 AMRegistration/Event Welcome
11:00 AM – 12:-30 PMOpen Coding Session with Expert Support
12:30 PM – 1:30 PMLunch/Webcast
1:30 PM – 6:00 PMOpen Coding Session with Expert Support
6:00 PM – 7:00 PMDinner/Webcast
7:00 PM – 11:00 PMOpen Coding Session with Expert Support
11:00 PM – 12:00 AM4th Meal

Agenda Day 2

12:00 AM – 9:00 AMOvernight Coding Session with Expert Support
9:00 AM – 10:00 AMBreakfast/Webcast
10:00 AM – 1:00 PMOpen Coding Session with Expert Support
1:00 PM- 2:00 PMLunch/Webcast
2:00 PM – 5:00 PMOpen Coding Session with Expert Support
5:00 PM – 6:00 PMApp Showcase/Judging & Awards

More info at //publish/

Tuesday, February 4, 2014

Installing Windows Embedded 8.1 industry

In this post we'll see step-by-step how to install Windows Embedded 8.1 Industry.

1. Installation

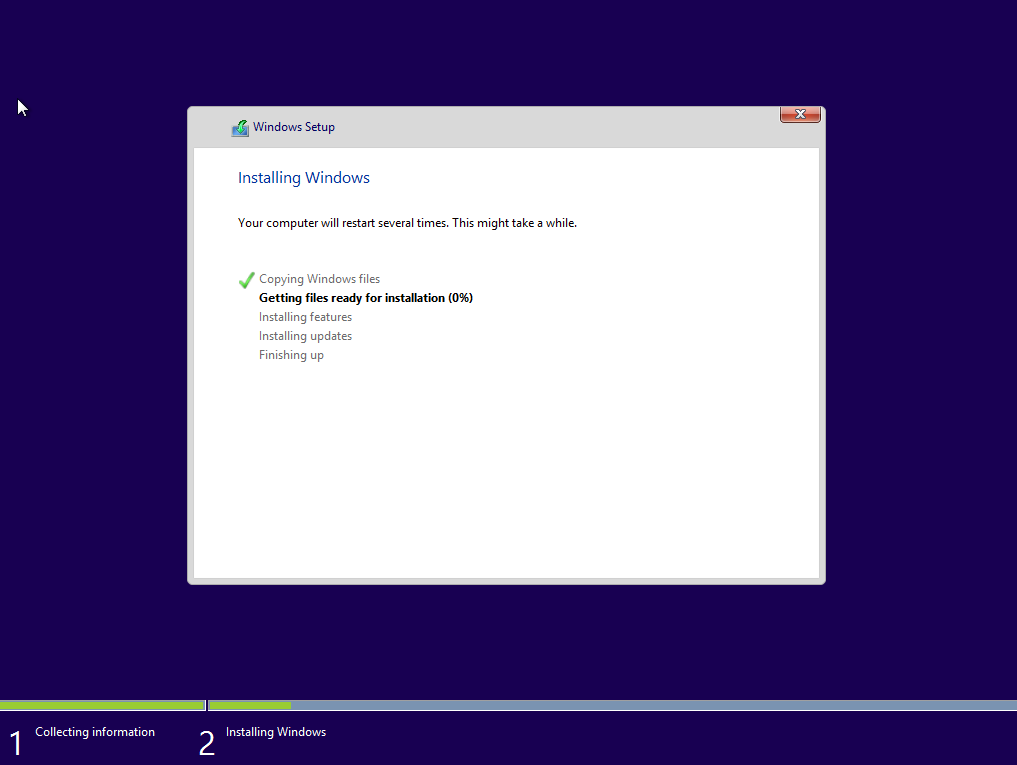
I'm using a Virtual Box machine, so I created a virtual machine for windows 8 with 2GB of RAM and 15 GB hard disk. 
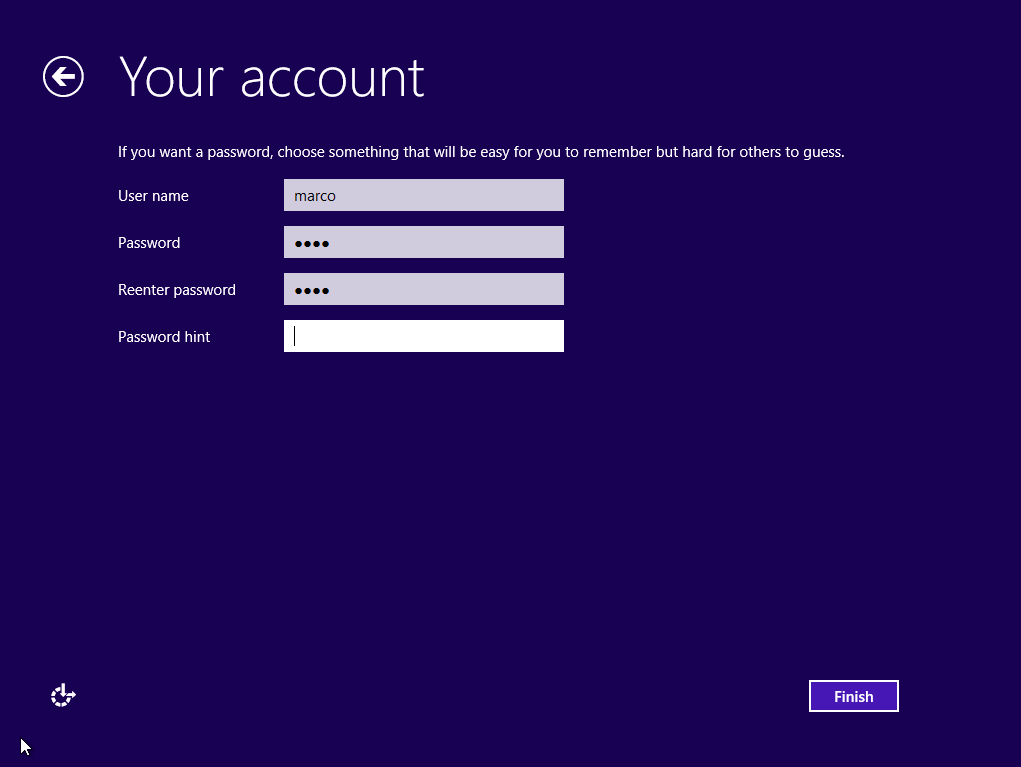
After that I loaded ISO image and it started installation: the same of Windows 8.1


2. Enabling Embedded features

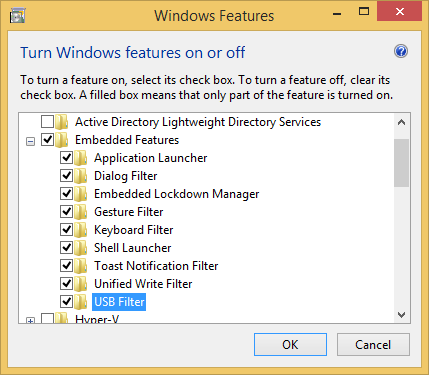
When installation is completed, you can digit Windows features on the start menu, and it will show you directly me turn on/off menu window. Scrolling the list, expand Embedded Features and select all sub items.


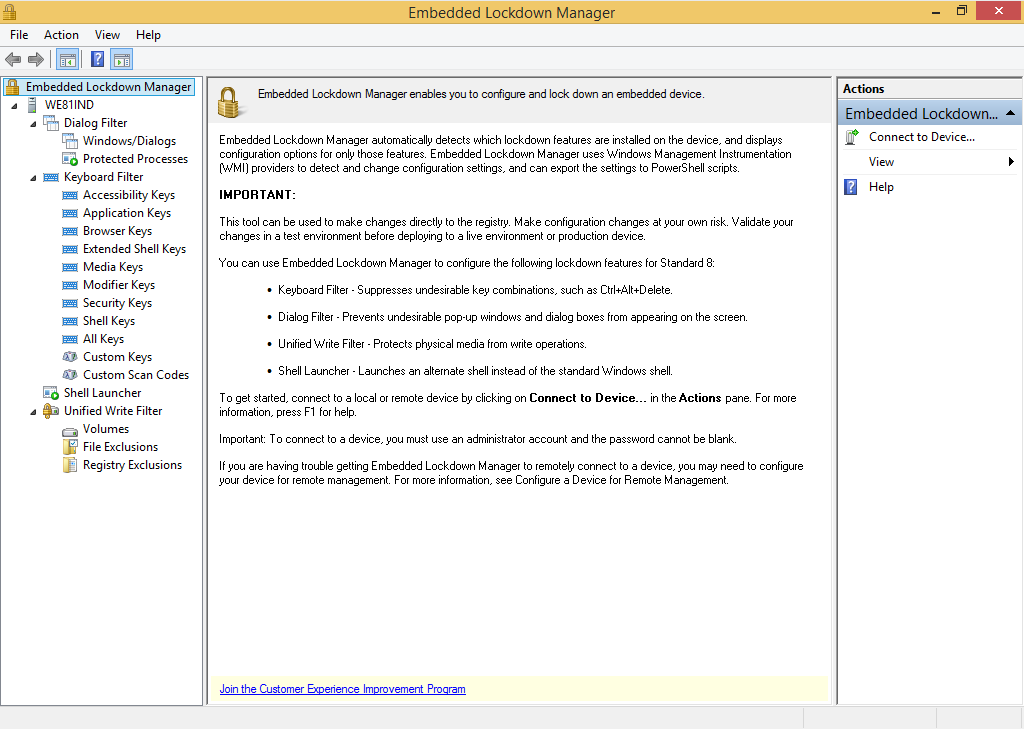
After restart you'll have Embedded Lockdown Manager available on apps list. 


In the next post will see how we can use it.